


-20%
Product Code:
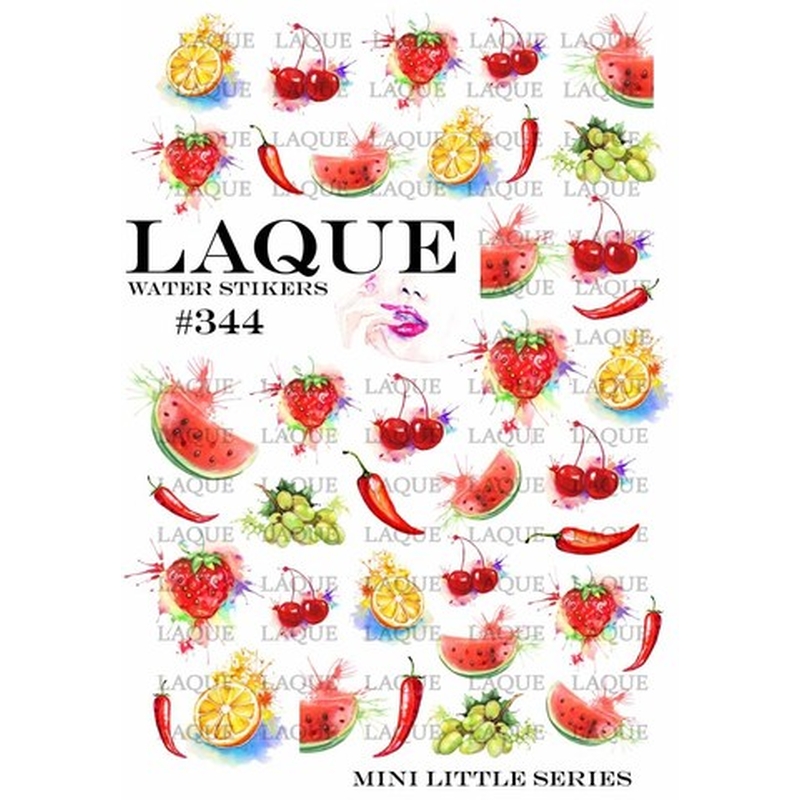
S1225-51
EAN:
4603745971336
Slider design #344
Description
Instructions for working with the "LAQUE" slider design:
1. Choose a suitable design, cut out the image to fit the shape, adjust to the width of the nail (if the image covers the entire nail).
2. Apply a layer of gel lacquer base, light dry.
3 Apply a layer of gel lacquer background colour, dry.
4. Apply a light coat of top coat. Allow to dry. Do not remove the tacky layer.
5. Place the slider on a cotton pad dampened with warm slightly hot (not cold!) water for about 15-20 seconds.
6. Bring the slider to the nail and slide it onto the nail. Gently smooth out the film, pushing out any air and water residues from the film. Allow the nails to dry in the nail lamp.
7. If the slider is on the entire nail, gently remove the film from the free edge of the nail with a fine abrasive file, using a top-down motion. Treat the edge of the nail with an acid-free nail primer.
8. Cover the slider with a top coat, sealing the ends and edges of the film well. The nail polish has been carefully brushed on to all three elements, the excess top only needs to be removed with a brush to avoid the nail art being completely covered and to preserve the 3D effect. Apply top in 2 thin layers. Allow to dry. Remove the sticky layer.
SPECIAL EXPERT ADVICE:
1. If you are using an all over nail design, we recommend using hot water to soak the slider design. This way the slider will be even more elastic and you can easily "pull up" the slider and shape it to the shape of the nail without jamming.
2. If you are using a small pattern (element), you can use Acid Free Primer instead of a slider top. This will reduce the number of layers. After the background colour, apply acid-free primer and place the slider design on it.
IMPORTANT: It is important to place the slider at the first attempt, as it will be difficult to correct the position of the sticker. The sticker does not roll on primer like it does on top.
3 If you want a design with a matte finish - the finished design should be covered with a regular top, the second layer of matte top, each layer should be dried in a lamp, and do not forget about the ends.
4. When working with WB designs, if the paper base is completely removed from the film, the film tends to "curl". To avoid this, we recommend that you remove 1/3 of the film from the paper base, transfer it to the nail, and only then remove the paper base.
5. When working with very small sliders, place the cut out elements on a moistened cotton pad, soak the paper base for 15-20 seconds. Take a transparent silicone stamp for steamping, touch and gently press the film with the stamp. With a sliding motion, remove the paper backing from the film directly on the stamp. Press the slider from the stamp onto the nail.
-
Express deliveryOrder now and receive till 28.04.2025.
Delivery all over Europe in 3-7 days!
Loading product name...
Load...

Gabbiano is a luxury Italian brand of hairdressing equipment and furniture, which is distinguished b..

The PRO INK brand responds to the specific needs of the tattoo industry. It offers professional equi..

Gabbiano is a luxury brand of hairdressing equipment and furniture, which is distinguished by reliab..

Gabbiano is a luxury brand of hairdressing equipment and furniture, which is distinguished by reliab..

Gabbiano is a luxury Italian brand of hairdressing equipment and furniture, which is distinguished b..
Reviews (0)
There are no reviews for this product.